Neito Rev. 2 Collaboration Opportunity
It’s been far too long since Rev. 1, but sometimes life happens, and things take longer than expected. Now, however, progress has been made, and I’m looking for collaborators to help bring it to life!
Why has it taken so long?
Neito has always been and will always remain a passion project of mine. Realistically, I might never be 100% satisfied with it. I was super excited about Rev. 1 and learned a lot from the experience, both about PCB/CAD design and the business side of things. I decided to cut the first group buy short due to potential issues, and I’m glad I did, as there were quite a few surprises, ranging from production challenges to bookkeeping complications.
The group buy gave me a bit of burnout, but I still decided to push forward with the next iteration of the project.
Rev. 1 was, and still is, awesome—it’s even my daily driver to this day. That said, there are aspects of it that could be more premium. However, achieving premium quality doesn’t happen overnight, nor is it something that can be invented on the fly.

The progression
When I started working on Rev. 2, I initially thought about just slapping in some hotswap sockets and calling it a day. But I felt that would be the lazy way out and wouldn’t make the board feel more premium. I knew it needed something more—more features and a different kind of case. That’s when the iterations began. At that time, KiCad was at version 5.x.
Iterations
I’ve scrapped the Neito project a total of 5–6 times and started over from scratch. Some of these iterations will never see the light of day, but I can summarize the main ones into these three below:
ATmega32u4 Hotswap
The first iteration focused on simply adding hotswap sockets while keeping the trusty ATmega32u4. However, since this design came together quickly, I felt that pairing it with a stacked acrylic case wouldn’t be justified. Plus, I found myself craving more RGB LEDs.
STM32
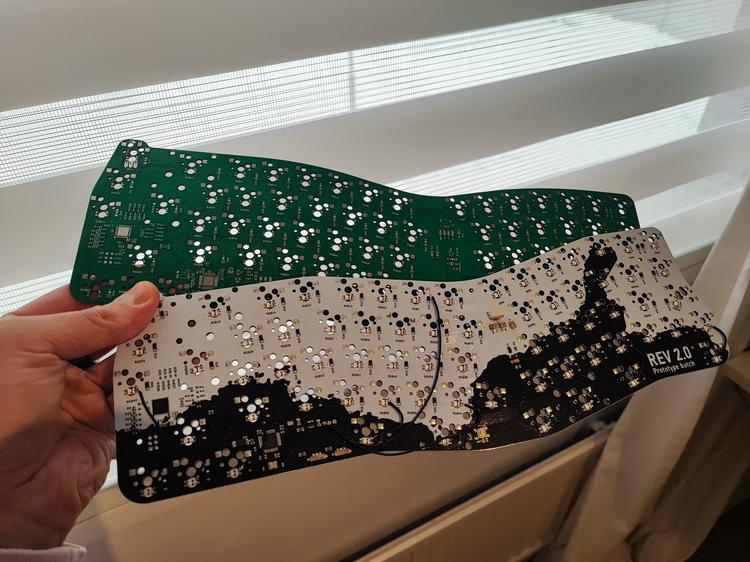
Taking inspiration from how the Gondolindrim Apollo87 was designed, I created my iteration of Neito using the STM32 chip. Getting the prototypes to work was nothing short of a small miracle, but with some jumper cables, I managed to get the board operational. The RGB LED placements were calculated using a small Tampermonkey script I wrote, and I had most things working—except the plastic on the JST ports turned out to be too brittle.
The experience of working with the STM chip after using the ATmega wasn’t a pleasant one. I felt the board had become overly complicated for what it was.
RP2040
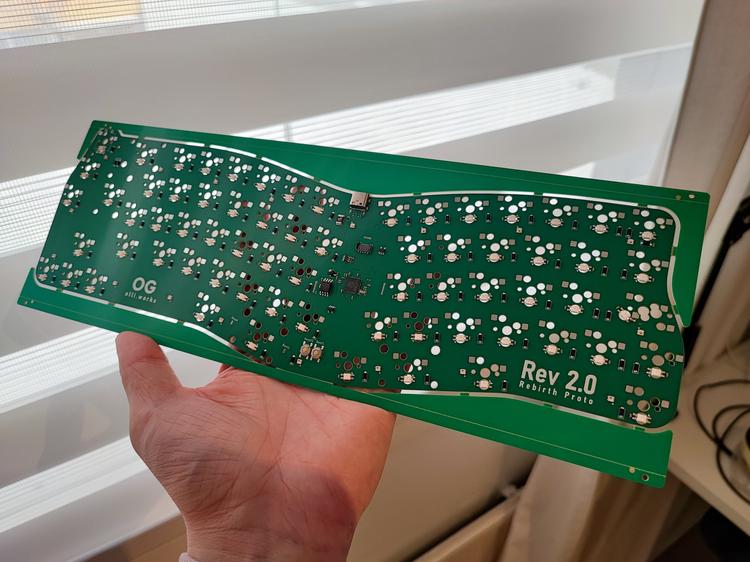
After a long break, I decided to give it another shot using the RP2040, as it greatly simplifies the design. And this is where things stand now! Also, KiCad is at version 8.x 😂
What’s new in Rev. 2?
Layout
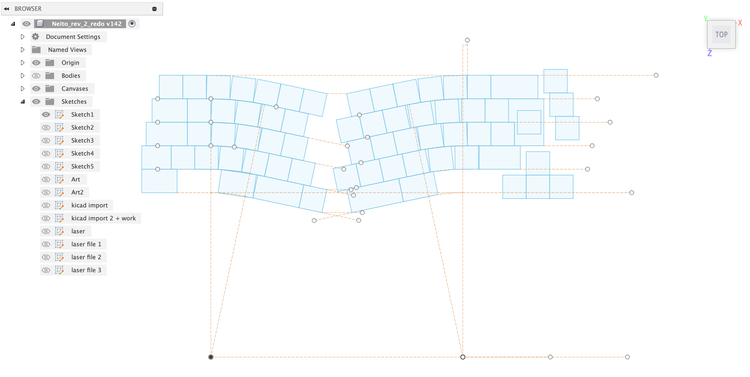
The ISO-Alice layout has always had an issue with gaps. I took this as a challenge and spent far too much time in Fusion360, turning the sharp turn into a smooth curve to hide the gaps. Each key in the curve is set at a slightly different angle.
One concern was that some keys might overlap, but when I tested it with MT3 keycaps (which should be the widest ones), the tolerances allowed for these small overlaps.
PCB Design
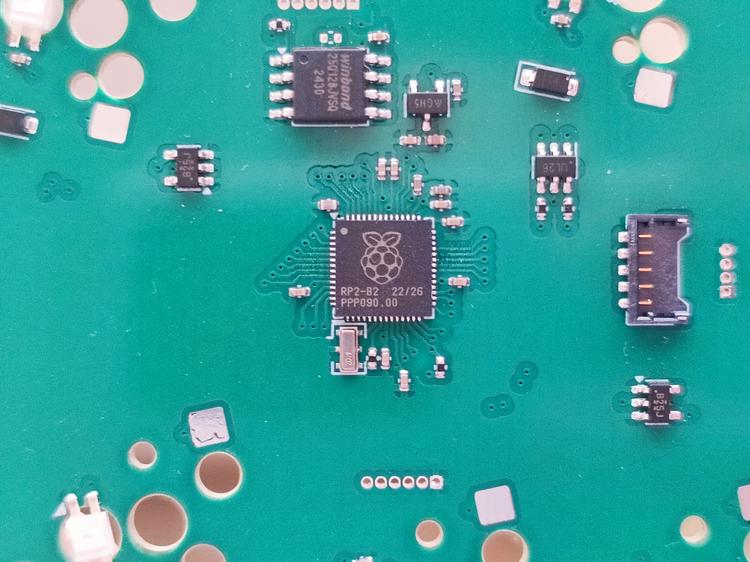
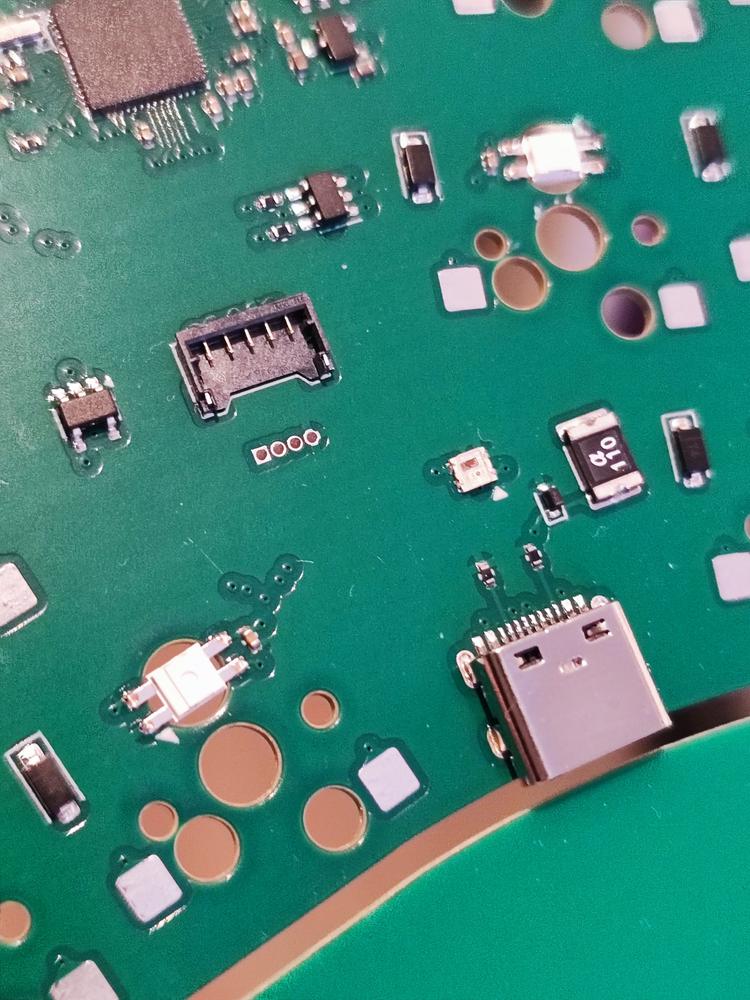
This time, Neito is hotswap, just as Mechmerlin had wished. The PCB is now a 4-layer design, with all traces routed inside the board. I had issues in the past where surface scratches on the PCBs caused the keyboard to malfunction. With this design, debugging is more difficult, but the end product is sturdier and has a reduced risk of scratch-related issues.
Connectors
The original Neito had only a Type-C port, and that worked fine. However, the trend is shifting toward gasket-mounted keyboards with daughterboards, so supporting this would be nice to have. I felt, though, that part of the original Neito’s spirit would be lost if I didn’t allow for custom solutions without a daughterboard, so I decided to include both options, so that one can choose to either go the premium route, or perhaps make their own custom case for the PCB!
Looking for Case Collaboration!
Here’s where you come in. I’m seeking collaborators to design cases for the Neito Rev 2 PCB. The idea is that I would focus on the PCB and firmware, but let others handle the case design. I’ve made a proto-case design already, but I’m pretty sure you might be better than me at CAD and can design something aesthetically pleasing.
Next steps
There are still some things I need to do with the PCB, but I have a vision for the final product.
- Fix remaining PCB issues.
- Finalize the firmware.
- Order release candidate versions of the PCBs.
- Work with collaborators to create cases.
- Launch a group buy.
My goal
As mentioned, this is mainly done as a passion project, as there is nothing quite like this sold in stores. The Keychron Q8 ISO is available, but it’s not the same as what I’ve designed. As a primary goal, I want a new Neito keyboard, and as a byproduct, I’ll try to get this up for sale worldwide.
Collaboration
Want to participate? Send an email, and let’s discuss how we can bring the Neito Rev 2 to life together.