
Neito Rev. 2 Collaboration Opportunity
I'ts been too long since Rev. 1, but sometimes life happens and things take longer than anticipated. Now, however, progression has happened!
This guide should have everything you need to know to assembly your Neito keyboard.
This guide is meant for participants of the Neito Rev 1.0 group buy. As this is a layered acrylic design, there are some things that are good to know before starting the assembly. This guide does not go into depth with QMK or how to solder, it's focused on how you assemble your Neito keyboard as it does have its own quirks.
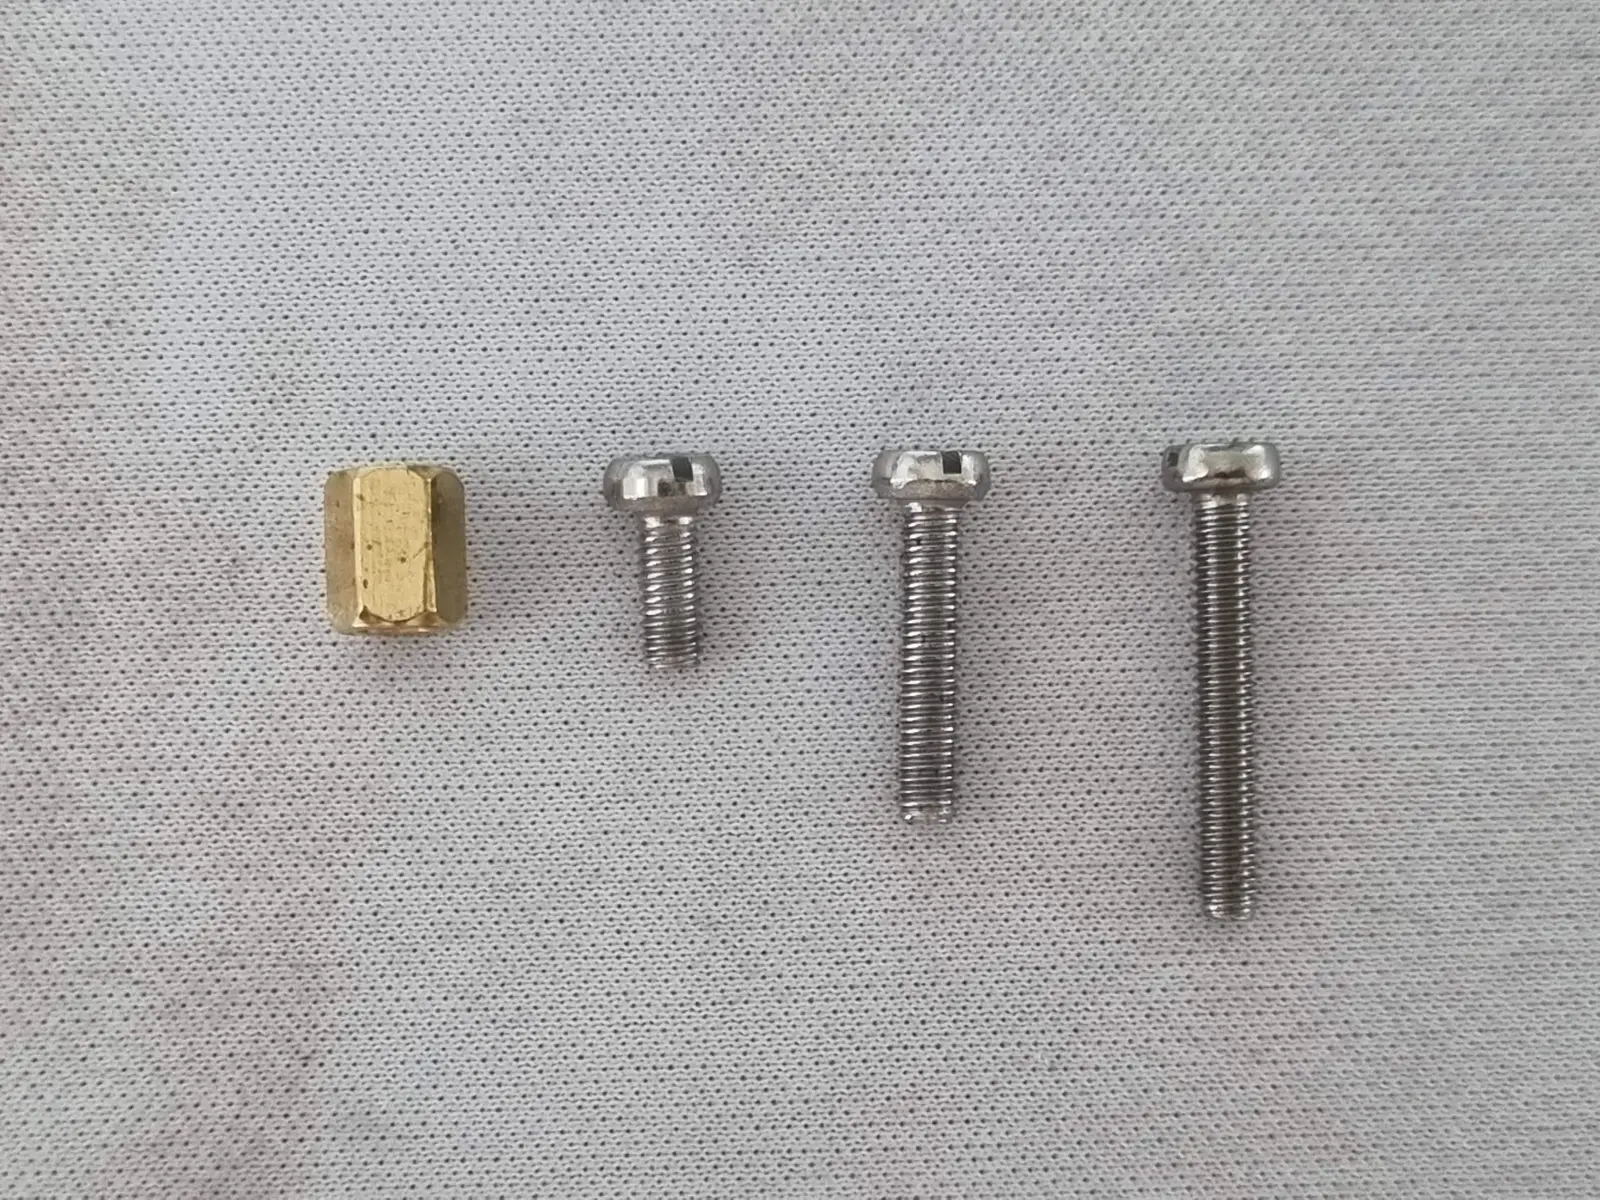
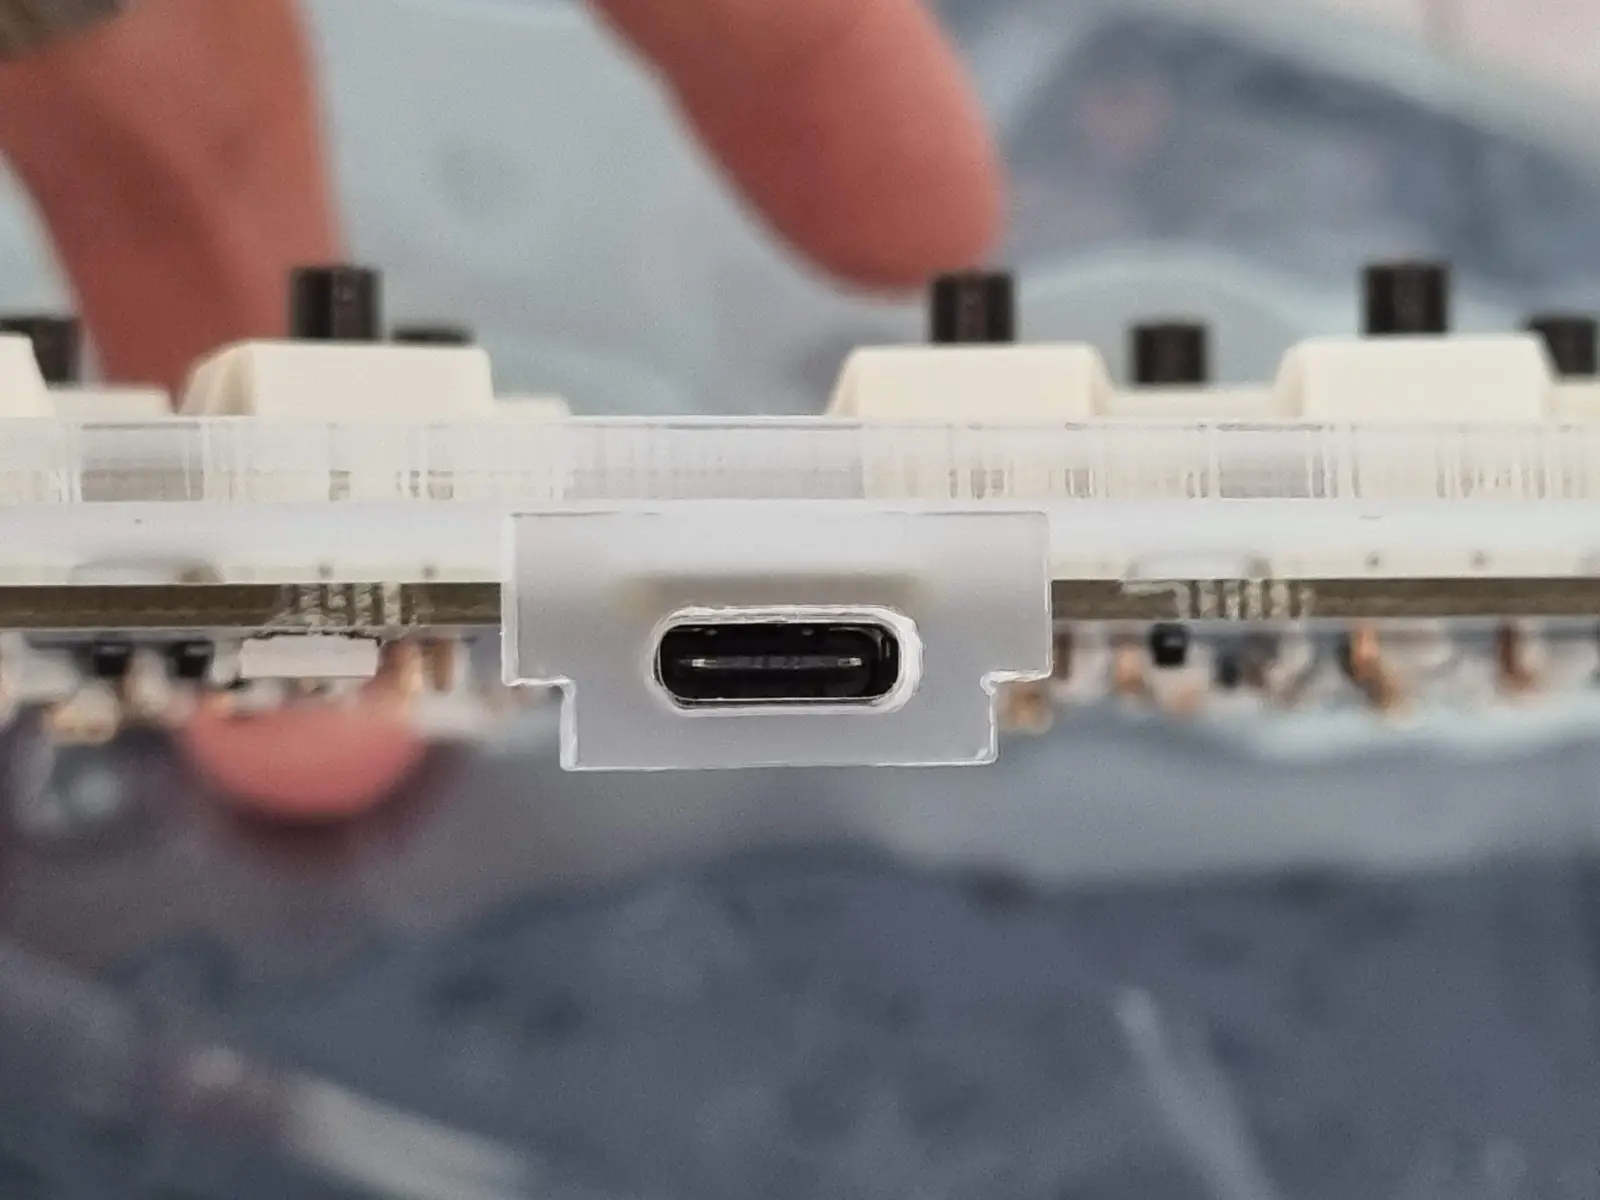
Due to manufacturing tolerances, the acrylic can be too thick or screws too short or long. This is something we noticed only late into the group buy and can be fixed with adjusted screw lengths. Ordering new screws for the group buy would push the date even further back so let's hope there are little to no issues. One of the cases I assembled had much thicker acrylic at the Type-C support piece, making it not fit in the case. If you happen to have a similar issue, you can use very fine sandpaper to make it thinner while still keeping its nice finish.
This is what you should have received if you participated in the original group buy. This example is the amounts for a single keyboard:
Before heating up your soldering iron, there are a few critical things you should do.
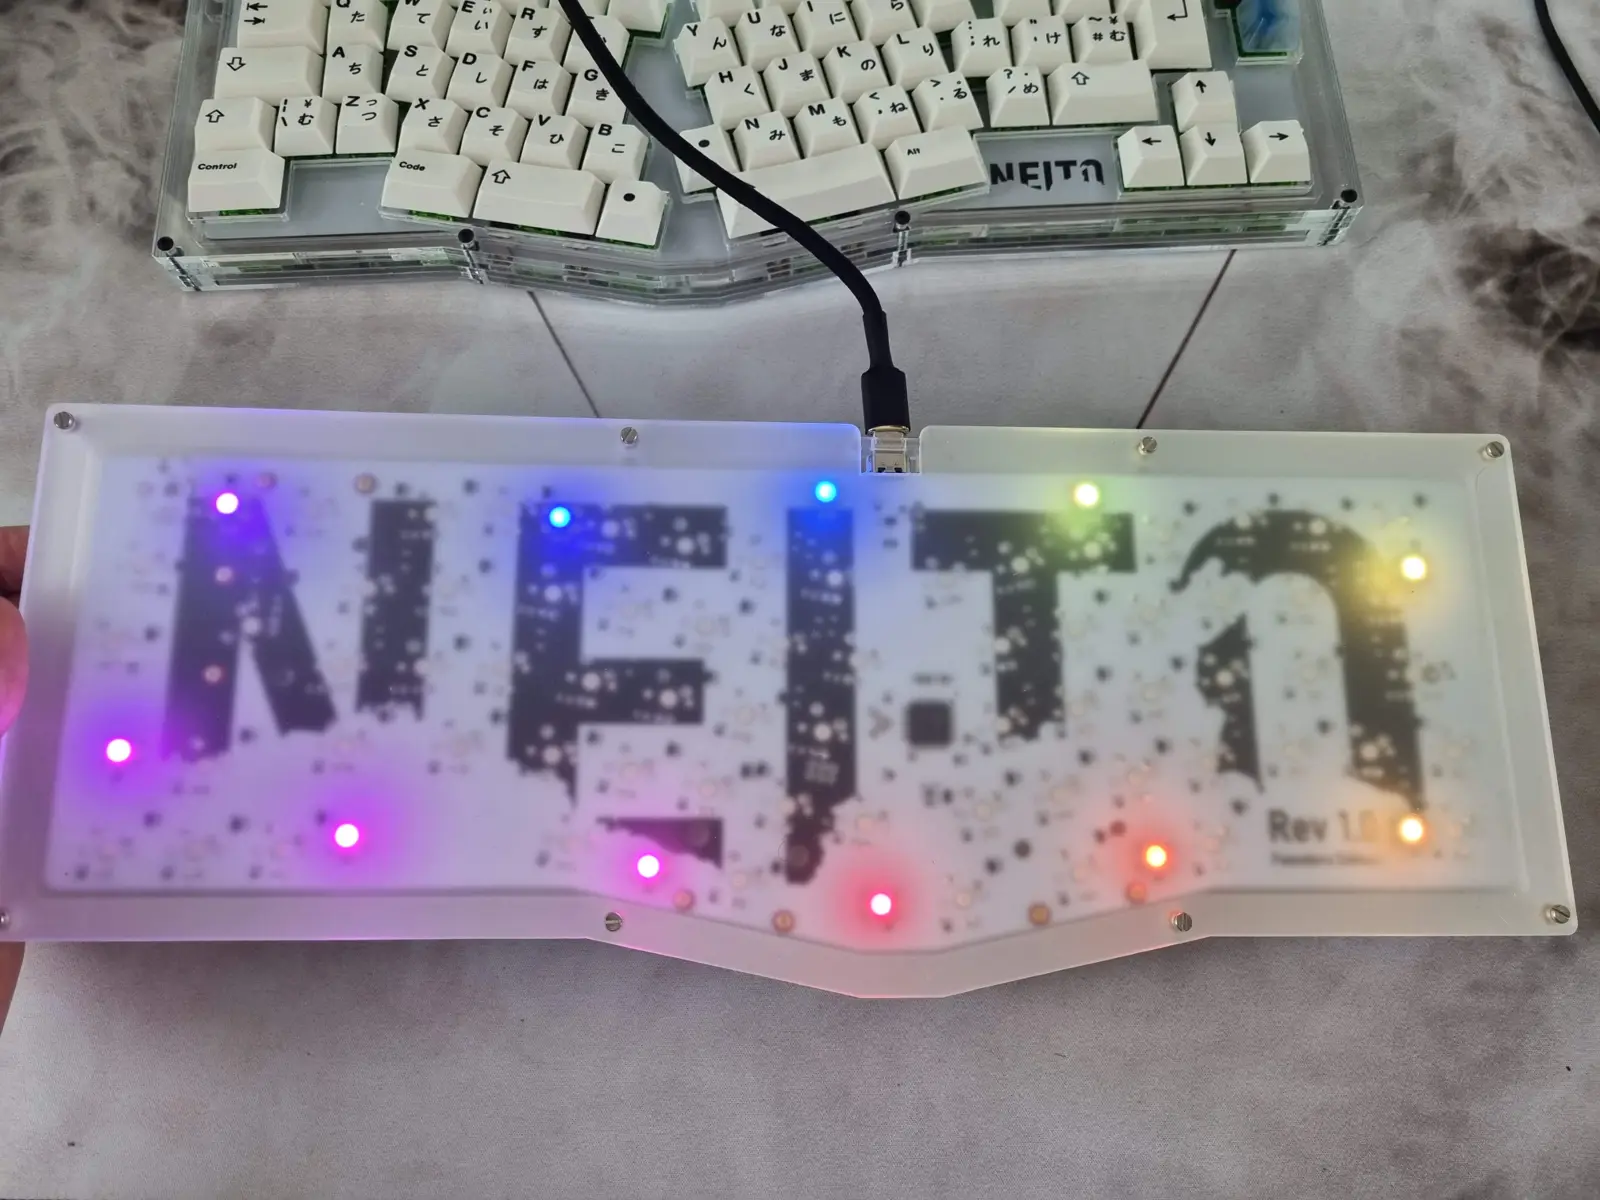
This is really important! Plug the keyboard into a computer and start testing the switches with VIA by shorting their contact points with metal tweezers. The keyboard has a really basic keymap as default and all the underglow RGB LEDs should shine. If there is an issue, it's much easier to debug/fix it if the keyboard hasn't been assembled.
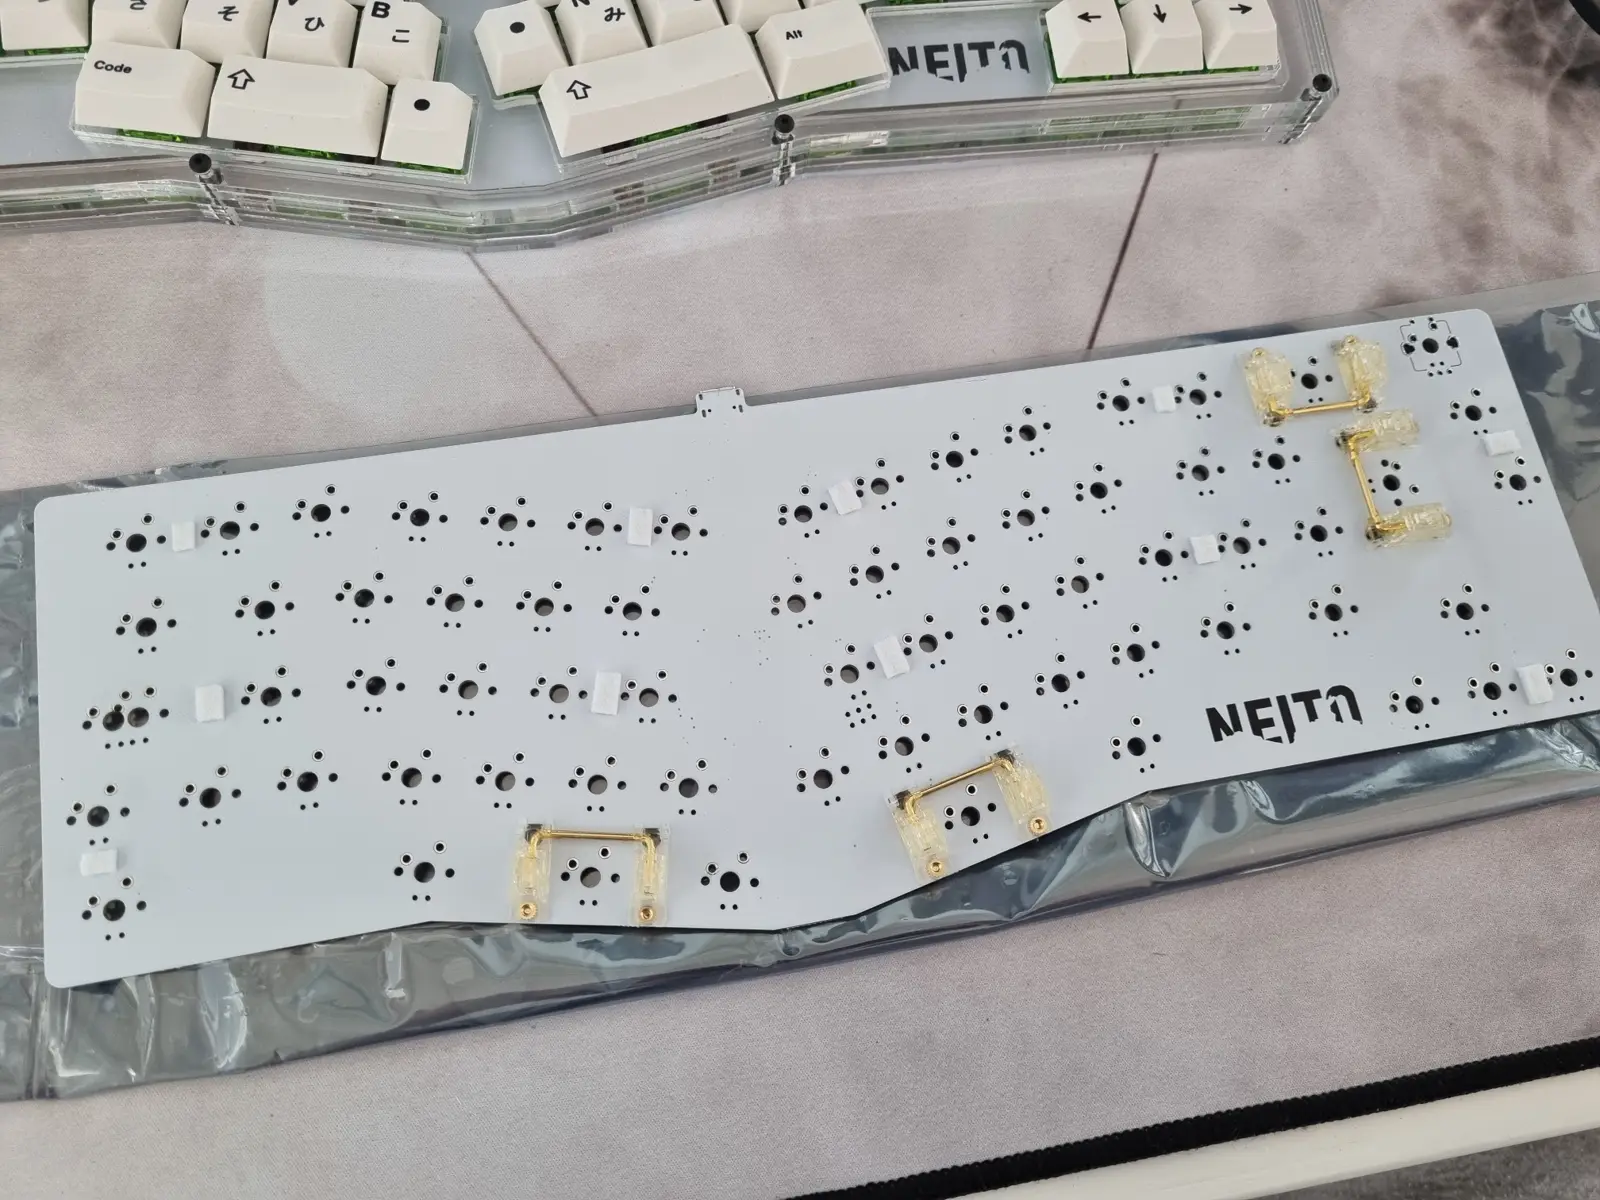
There are x4 2U stabilizers that should be installed on the PCB. Do it right away you are sure that the PCB works.
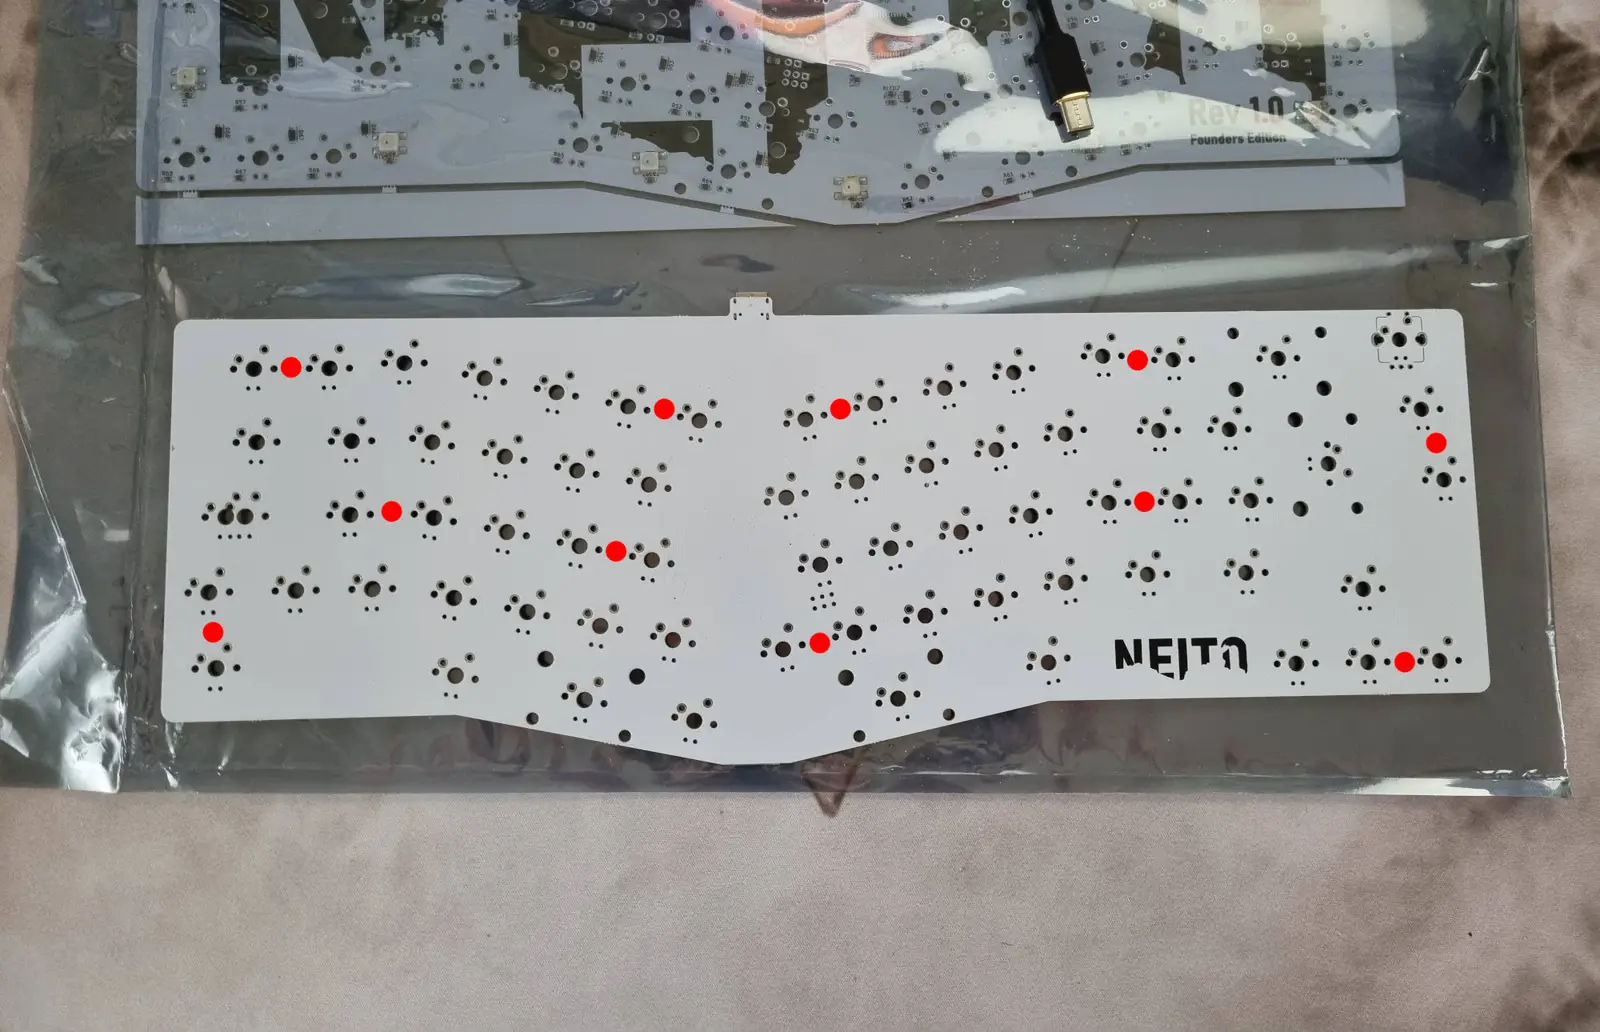
We enlarged the switch-cutouts in the plate from 14x14mm -> 14x14.15mm. This did make the switches be looser in their spots but the cutouts are still too tight with some switches. One build with Durock Koalas was too tight and required the felt pads when again another build with Boba U4 worked fine. Your mileage may vary but I recommend installing these in tactical spots as marked red on the image.
You can see the white felt pads if you use a clear case, but when you have the keycaps installed, none will be visible. You might not need to use the exact spots as in the image nor use even all posts, the most important ones are ones in the middle as that's the spot where the acrylic plate bends the most.
This issue is a common issue with 3mm layered acrylic cases as switches are meant to have a 1.6mm plate, not 3mm as in our case.
If you don't use felt pads, there is a risk that the switches will push the plate towards the PCB, hence making the keyboard not sit flush. In this situation we had used felt-pads but not by the space-keys. This made the switches push the plate, but once assembled, the downward force of pressing keys is enough to push the plate into position in this case.
The worst place to have the plate being pushed is around the middle of the PCB as there the plate support is weakest.
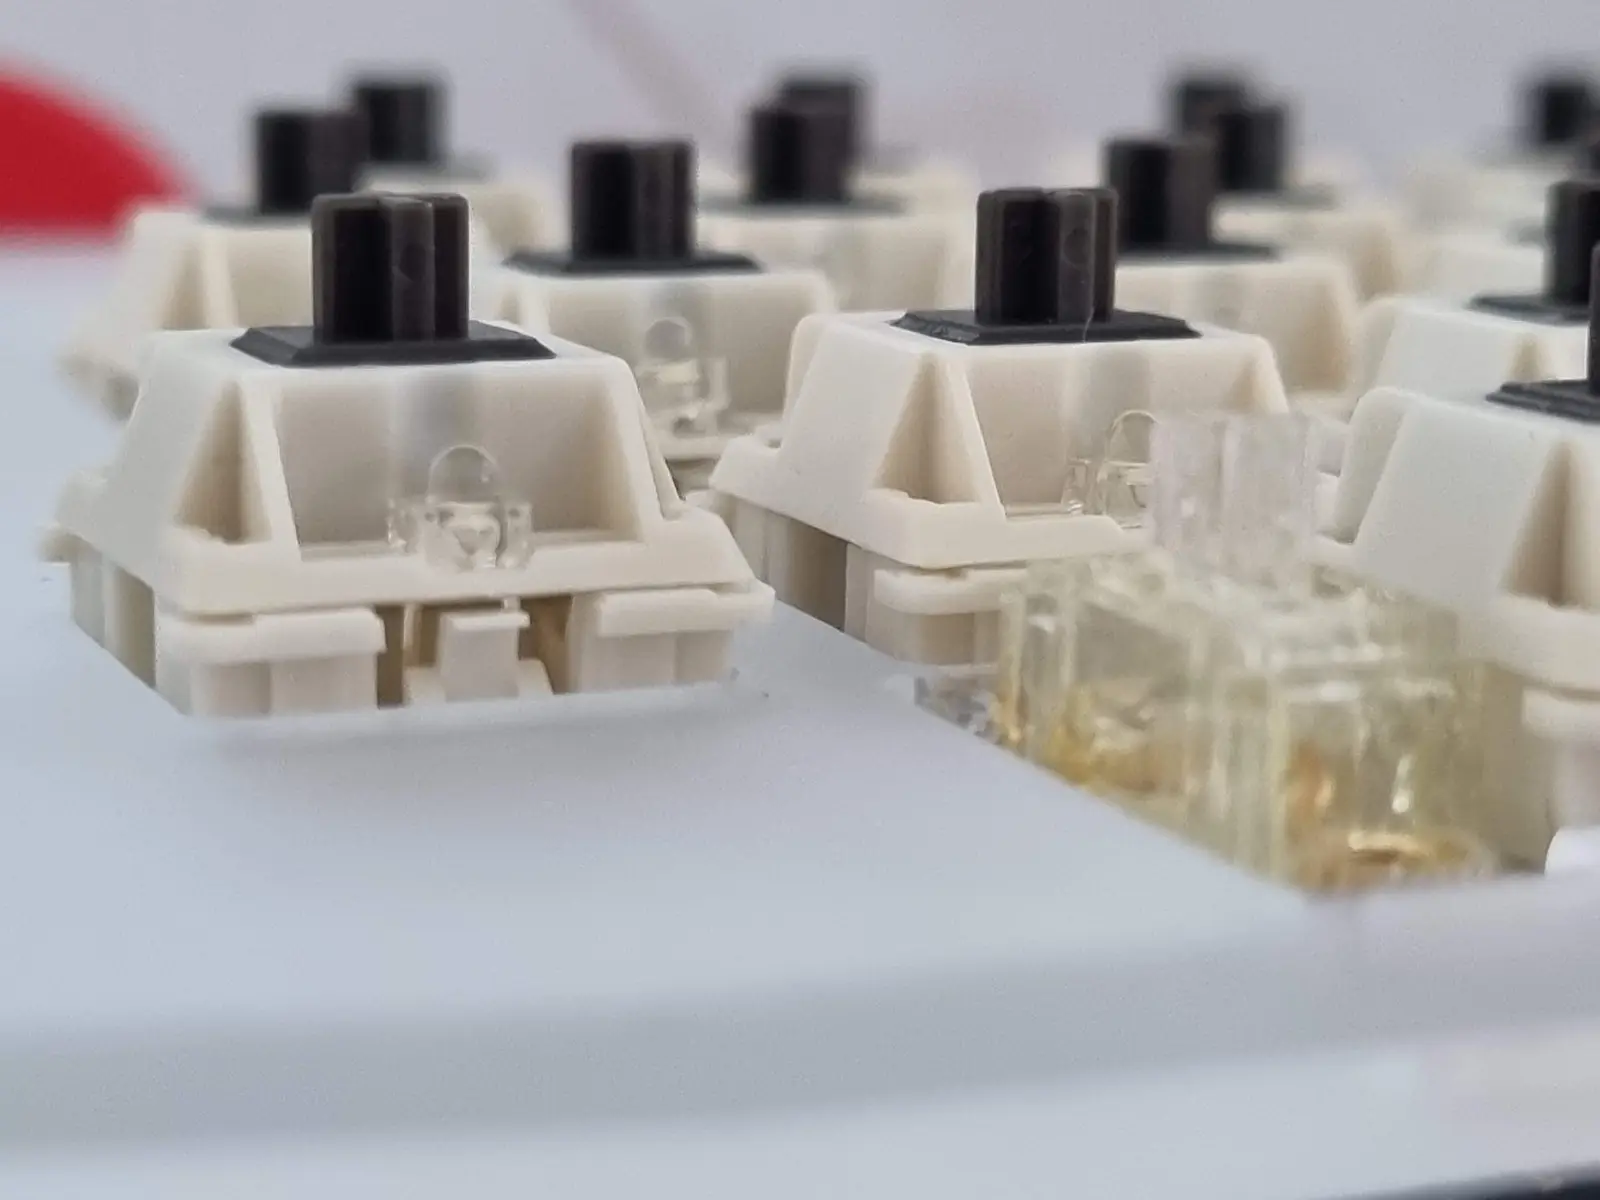
After having the felt pads in place, put your plate on the top-side of the PCB and start inserting the switches. Make sure you press the switches fully in, the 5-pin mount requires some force that the switches are well set. I'd recommend at first to solder all switches and after that the optional rotary encoder. This is because if you have switches AND the encoder installed unsoldered, your keyboard won't lay flat on the table for soldering.
When you have all the switches soldered, you should be able to insert the Type-C support piece by sliding it around the port. If you didn't use felt or otherwise don't have the plate being flush with the switches (meaning the plate should not lie on the PCB), you need to get that sorted out first. Using excess force could break the Type-C port, be cautious.
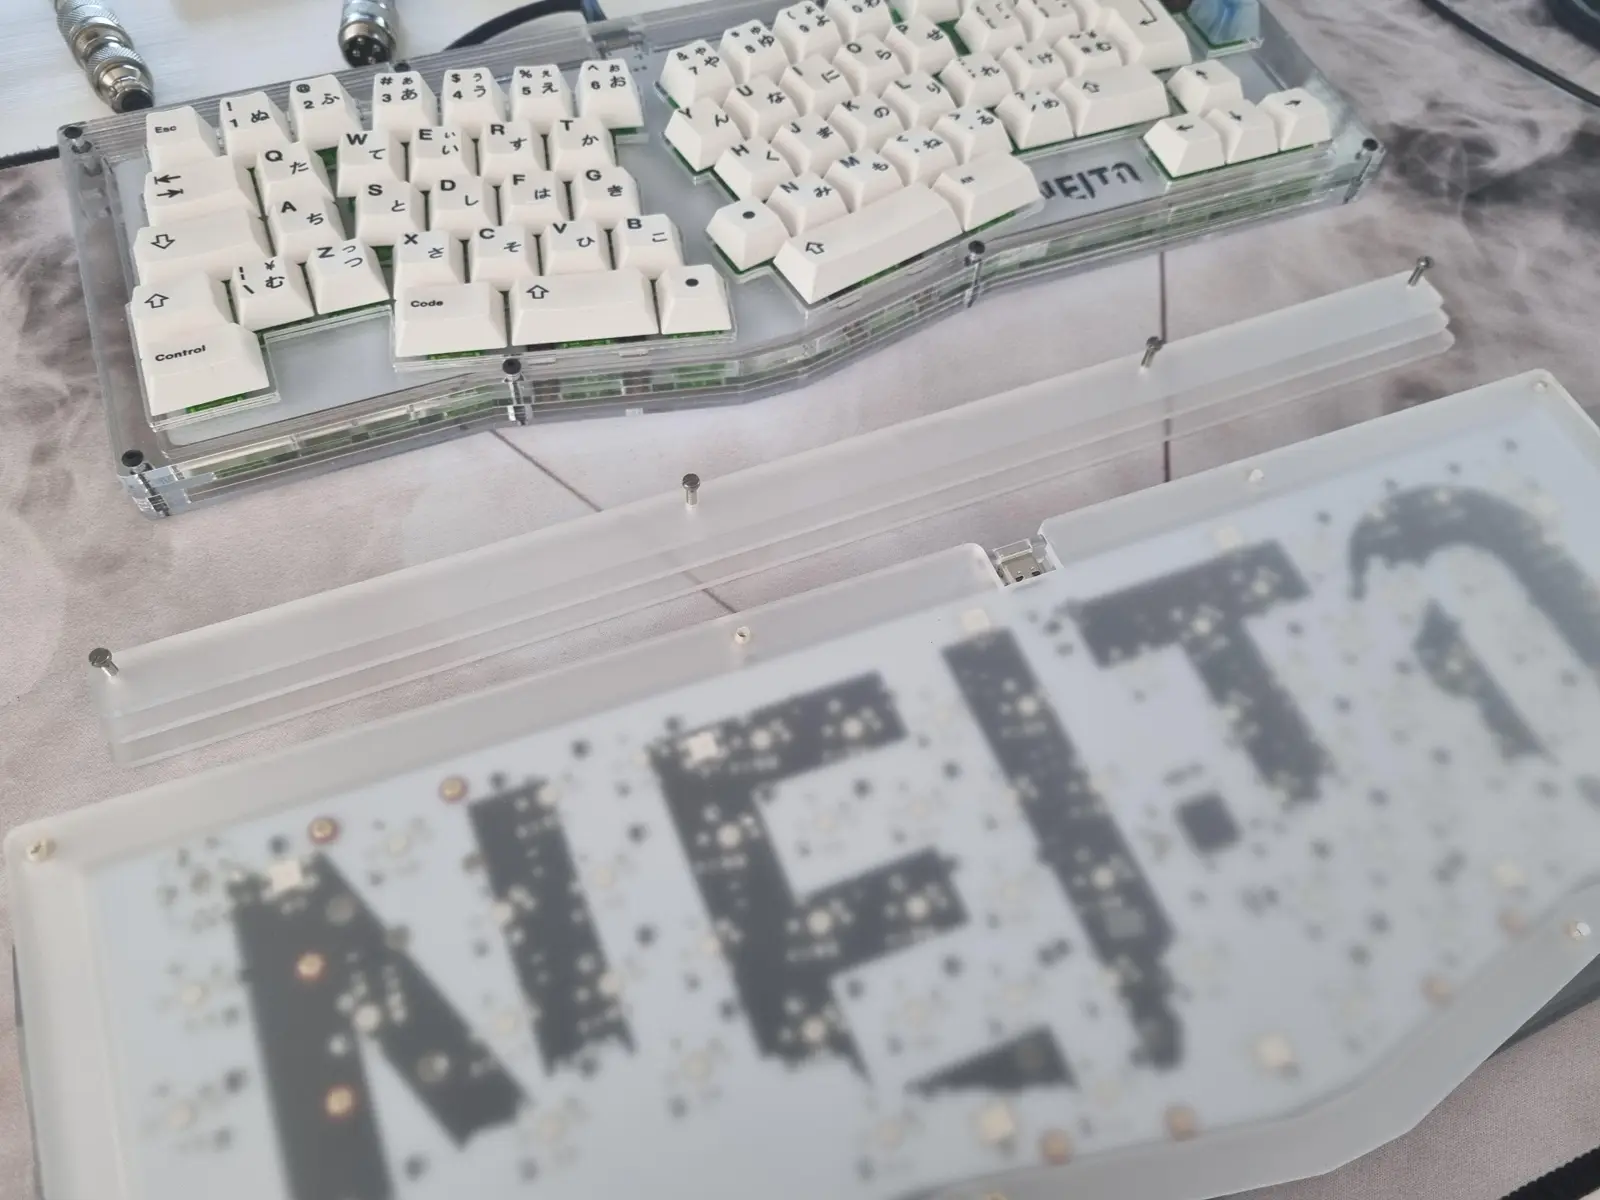
Flip the keyboard face down and add carefully the two middle layers. These layers have a little gap by the Type-C port so that they clamp around the Type-C support piece. Add the 6mm hex standoffs and then the bottom plate. At this point, you should decide if you want to go for a flat profile or if you want the keys to be at an angle. For a flat profile, tighten the bottom plate with 6mm screws. For an angle, add 3 or 4 "legs" to the backside. Screw bottom plate with 6mm screws and use the 16mm screws the the "legs". Due to slight variations in thickness and screw lengths, you might be better off with 3 or 4 legs. Flip the board around, add hi-pro layers and tighten everything from the top side with 12mm screws.
VIA is the software that you can use to edit the keymap of the keyboard. The current version of VIA doesn't support changing what the rotary encoders do (despite click) so if you want to change the rotational behavior, you need to compile your own .hex that you then flash the board with. Neito has been merged into QMK and is supported in VIA.
Download VIAIf you want, you can also compile your own version of the software using QMK. The rotary encoder is not changeable via VIA so you need to compile your own software with the wished modifications to get the encoder's behavior to change.
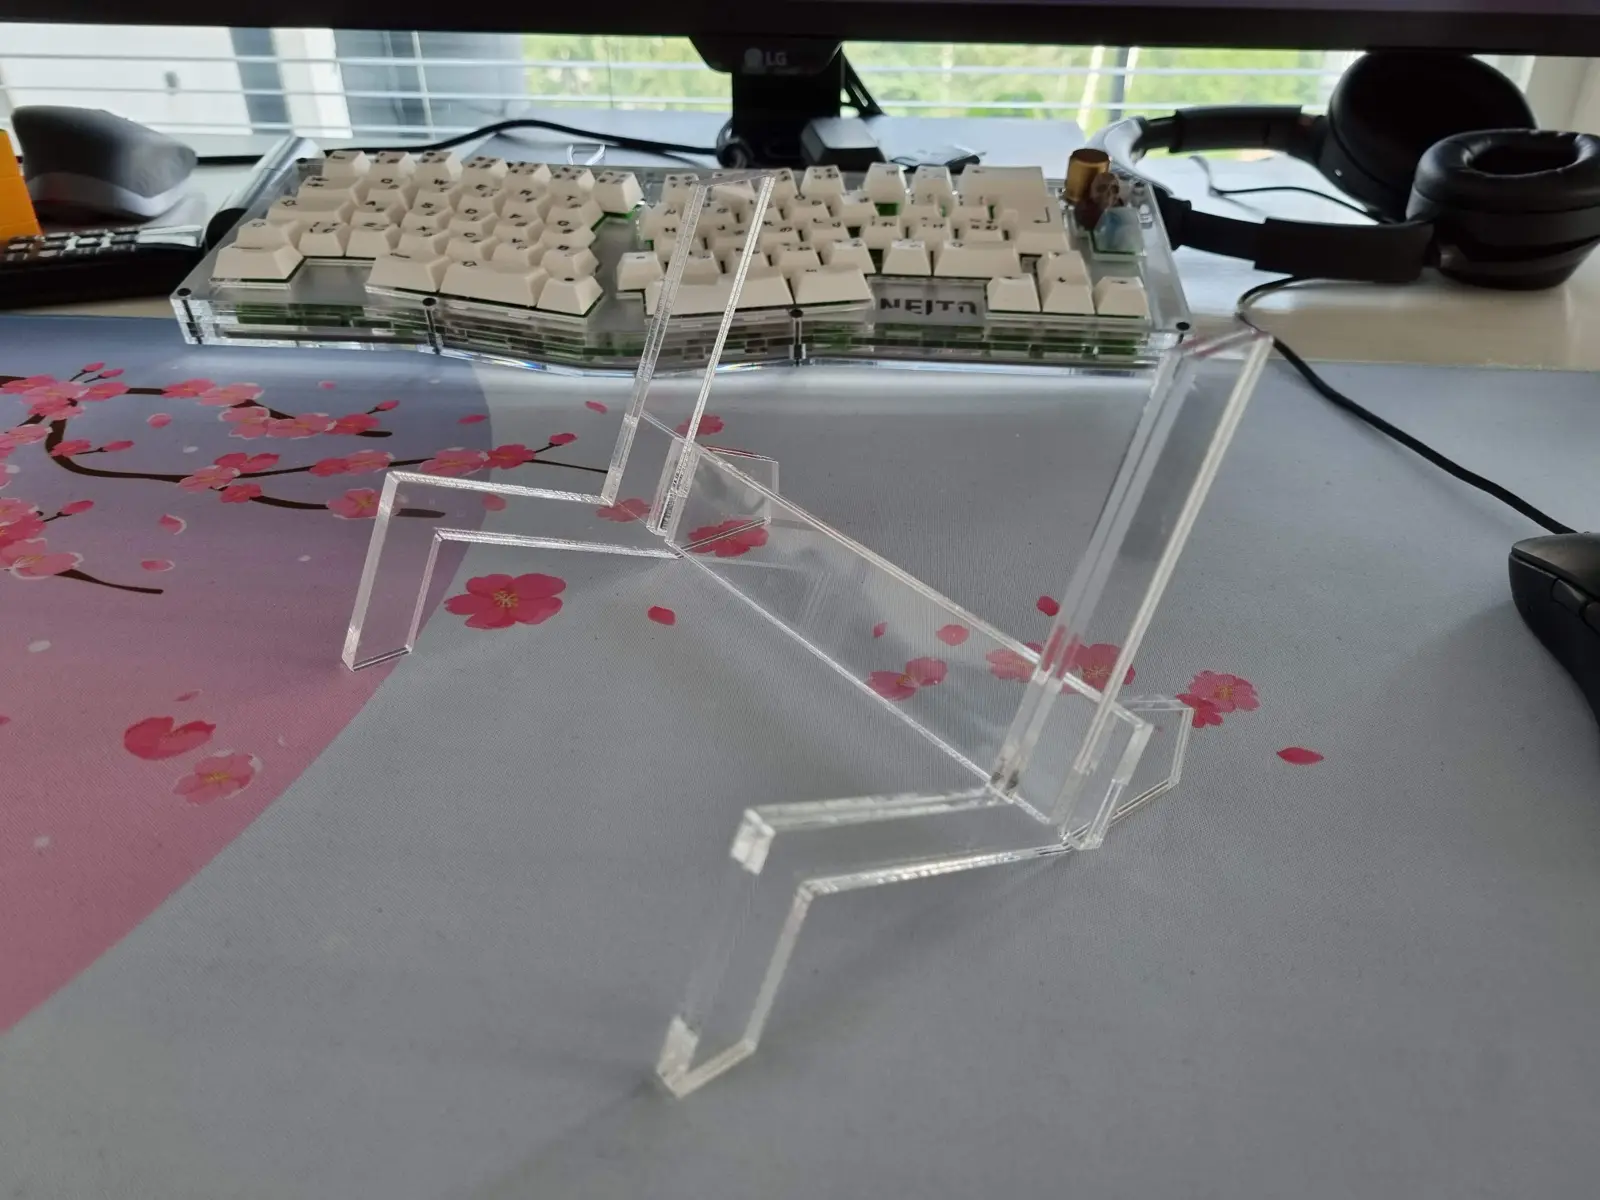
Neito in QMK repoThe middle layers are laser cut as single pieces of plastic and had lots of empty space inside them. It would have been a pity to waste all that acrylic so I came up with the idea of creating a keyboard stand. The one in the image is the prototype stand but is built the same way as the GB stands. There are 6 pieces in the keyboard stand, but when it's built it looks like 3 pieces. By using double the material for the pieces, we have a more sturdy keyboard stand compared to single 3mm pieces.
You can be in touch with me if you have issues with the assembly of your keyboard. Remember that you don't need to use force to assemble this keyboard. Most issues should be resolved with either this and some other basic keyboard assembly guide. If there are dead switches or LEDs, contact me and we'll see how we can get it fixed.
Contact meI'ts been too long since Rev. 1, but sometimes life happens and things take longer than anticipated. Now, however, progression has happened!
Review of the new Vortex Model M SSK keyboard Kit. This is a sponsored review but I'm not sensored in any way and can give my honest opinions.
Review of the new Vortex & MiTo Hellcat keyboard kit. Despite this being a sponsored review I'm allowed to give my honest opinion on the keyboard.